gitHubPage에 NextJS 배포
next.config.ts
import type { NextConfig } from 'next';

const nextConfig: NextConfig = {
  output: 'export',
};

export default nextConfig;
nextjs.yml
해당 리포지토리에서 Settings > Pages의 Build and deployment에서 [GitHub
Actions]을 눌려서 nextjs.yml을 만들면 됩니다.
# Sample workflow for building and deploying a Next.js site to GitHub Pages
#
# To get started with Next.js see: https://nextjs.org/docs/getting-started
#
name: Deploy Next.js site to Pages

on:
  # Runs on pushes targeting the default branch
  push:
    branches: ['main']

  # Allows you to run this workflow manually from the Actions tab
  workflow_dispatch:

# Sets permissions of the GITHUB_TOKEN to allow deployment to GitHub Pages
permissions:
  contents: read
  pages: write
  id-token: write

# Allow only one concurrent deployment, skipping runs queued between the run in-progress and latest queued.
# However, do NOT cancel in-progress runs as we want to allow these production deployments to complete.
concurrency:
  group: 'pages'
  cancel-in-progress: false

jobs:
  # Build job
  build:
    runs-on: ubuntu-latest
    steps:
      - name: Checkout
        uses: actions/checkout@v4

      - name: Setup Node
        uses: pnpm/action-setup@v4
        with:
          version: '10.2.1'
          run_install: false

      - name: Setup Pages
        uses: actions/configure-pages@v5
        with:
          # Automatically inject basePath in your Next.js configuration file and disable
          # server side image optimization (https://nextjs.org/docs/api-reference/next/image#unoptimized).
          #
          # You may remove this line if you want to manage the configuration yourself.
          static_site_generator: next

      - name: Install Node.js
        uses: actions/setup-node@v4
        with:
          node-version: 20
          cache: 'pnpm'

      - name: Create .env file
        run: |
          echo NEXT_PUBLIC_GISCUS_REPO_NAME=${{ secrets.NEXT_PUBLIC_GISCUS_REPO_NAME }} >> .env
          echo NEXT_PUBLIC_GISCUS_REPO_ID=${{ secrets.NEXT_PUBLIC_GISCUS_REPO_ID }} >> .env
          echo NEXT_PUBLIC_GISCUS_CATEGORY_ID=${{ secrets.NEXT_PUBLIC_GISCUS_CATEGORY_ID }} >> .env
          echo NEXT_PUBLIC_GOOGLE_ANALYTICS_ID=${{ secrets.NEXT_PUBLIC_GOOGLE_ANALYTICS_ID }} >> .env

      - name: Install dependencies
        run: pnpm install

      - name: Build with Next.js
        run: pnpm next build

      - name: Upload artifact
        uses: actions/upload-pages-artifact@v3
        with:
          path: ./out

  # Deployment job
  deploy:
    environment:
      name: github-pages
      url: $
    runs-on: ubuntu-latest
    needs: build
    steps:
      - name: Deploy to GitHub Pages
        id: deployment
        uses: actions/deploy-pages@v4
환경변수
Settings > Secrets and > Actions 값을 만들어서
nextjs.yml에서 .env 파일을 만들어주면 됩니다.
Client에서 사용하는 환경변수이면 NEXT_PUBLIC_으로 시작하는 환경변수를 만들면
됩니다.
Bundling Environment Variables for the Browser
NEXT_PUBLIC으로 시작하지 않는 환경 변수는 Node.js 환경에서만 사용할 수 있으며,
브라우저에서는 접근할 수 없습니다. 브라우저는 Node.js와는 별도의 실행 환경이기
때문입니다.
브라우저에서도 환경 변수 값을 사용하려면, Next.js는 빌드 시점에 해당 값을 JavaScript 번들에 하드코딩(inline) 합니다. 즉, 코드 내의 process.env.[변수명]을 실제 값으로 대체하여 클라이언트에 전달되는 번들에 삽입합니다.
이 기능을 활성화하려면 환경 변수 앞에 NEXT_PUBLIC_ 접두사를 붙이면 됩니다. 예를 들어:
NEXT_PUBLIC_ANALYTICS_ID=abcdefghijk
이렇게 하면, process.env.NEXT_PUBLIC_ANALYTICS_ID로 접근하는 모든 부분이 next build 명령어가 실행된 환경에 설정된 값으로 대체됩니다. 이 값은 브라우저로 전달되는 모든 JavaScript 코드에 인라인 처리되므로, 클라이언트 코드 어디에서든 사용할 수 있게 됩니다.
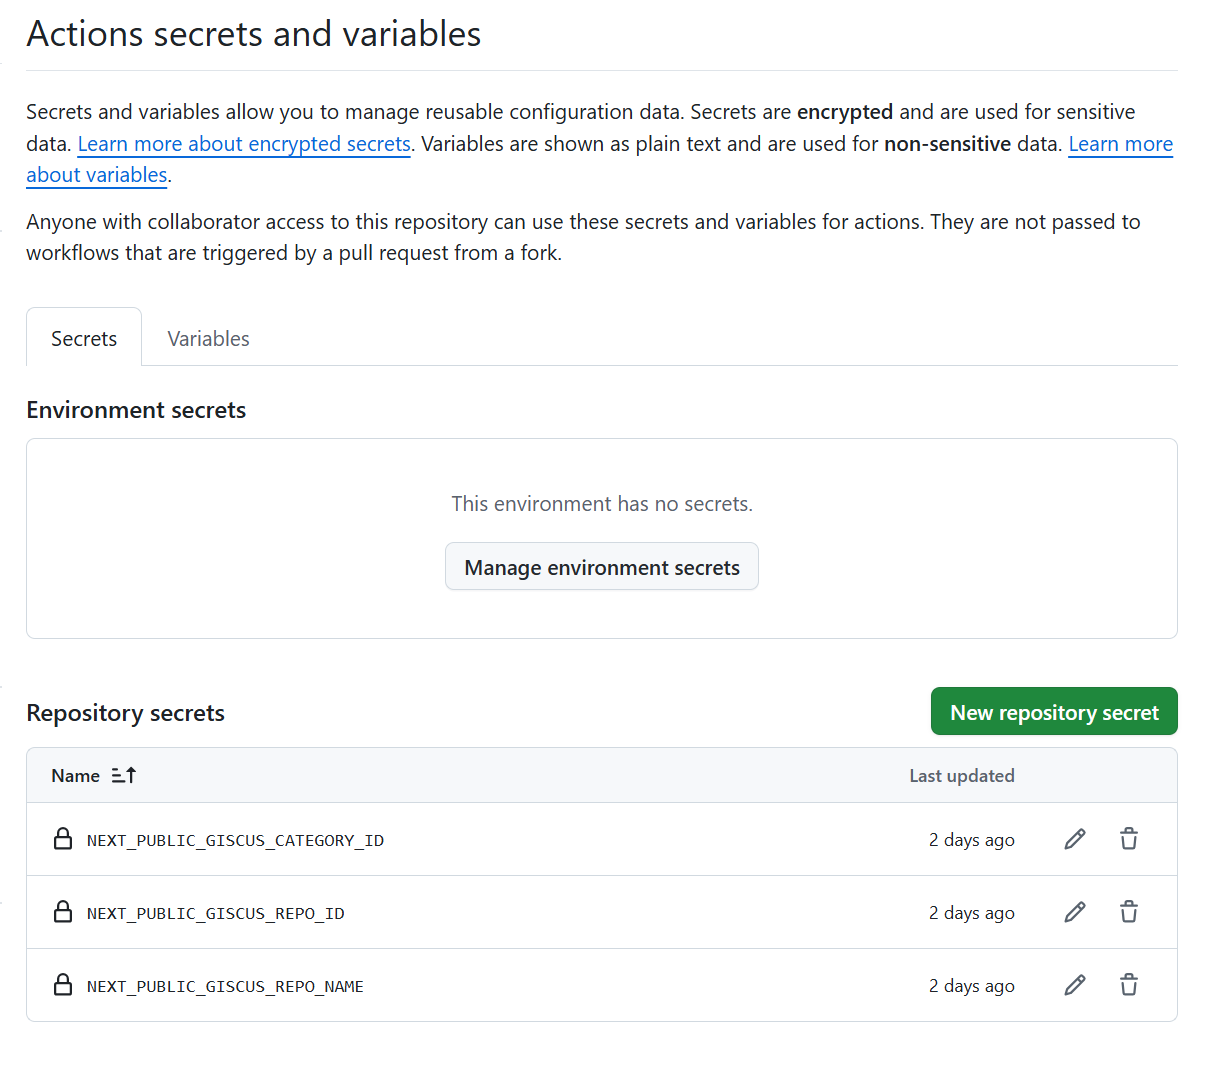 Repository secrets